Start with the faces people will actually see
Use an imaginary retail frame for the markup. Its front and two sides remain exposed; the fourth face sits against a wall. Direct lighting crosses every mitred corner.
Mark the drawing itself. All visible faces hands the installation interpretation to the supplier. A thumbnail sketch avoids that: A, B and C named, grain arrows beside them.
Give the hidden face a name as well. It can carry a mark, seam preference or handling evidence that would be rejected on A–C. Once every face has a job, visual review gets simpler.

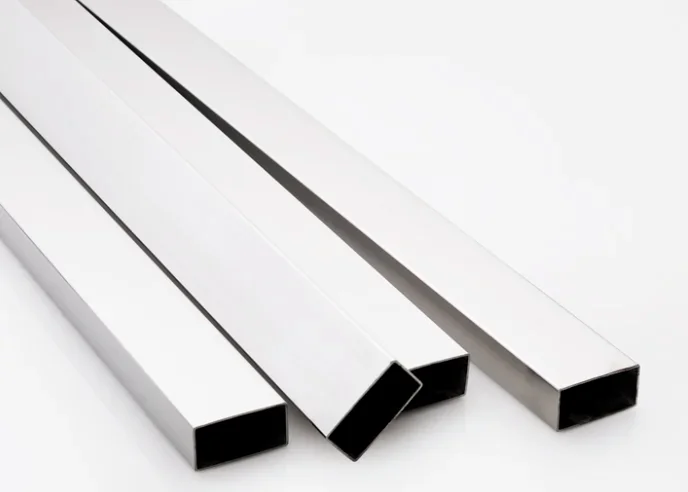
Give the finish a reference, not just an adjective
Polished, brushed, satin and mirror help people start talking; they do not guarantee that two bidders picture the same surface. Anchor the chosen term to the approved technical reference, sample, or both.
If a measurable finish requirement applies, state it with the agreed method. If appearance is primarily comparative, use a controlled sample. Many projects need both: a written process or finish description plus a physical appearance reference.
A supplier's marketing label belongs on the drawing only when the project intentionally adopts that proprietary reference. A competing catalogue may attach the same phrase to a different look.
Build a sample card that can survive the project
Treat the sample like a controlled object. Number and date it; add material description, size, relevant grade, grain direction and supplier reference. Photograph it for the register, but never pretend the image reproduces colour and gloss faithfully.
The register says where the physical piece lives and who approved it. Mark or seal its back without touching the comparison face. If limit samples show pass and fail boundaries, label those roles plainly.
Write the approval's scope as a sentence: texture, gloss, tone, grain, weld blend, permitted marks, edges, corners—or whichever subset applies. A bare signature stores disagreement for later.

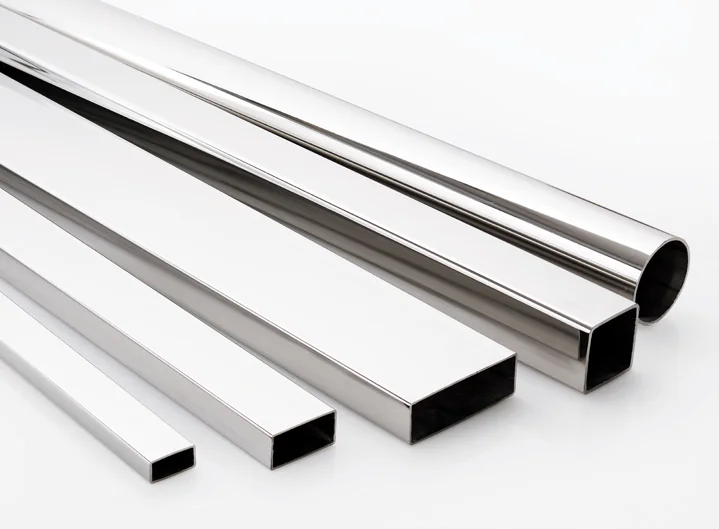
Review the sample under realistic light
Office light can hide what raking daylight reveals. Where practical, review under light resembling the installation. Tilt the piece. View with the grain, then across it.
This is not a theatrical inspection. Directional finishes interact strongly with light. Adjacent square-tube faces can appear different even when processed similarly, and pieces installed with reversed direction can stand out.
Record the viewing arrangement if it affects acceptance: approximate distance, light type and orientation. Do not invent a laboratory protocol unless the project requires one; just make the agreed review repeatable.
Put grain direction on the drawing
Long rails often take grain along their length; a mitred frame may need the arrows to meet in a deliberate pattern. Put that pattern on the drawing.
A cut list should preserve part orientation so the fabricator does not rotate pieces after polishing. Part marks belong on hidden faces or removable protection where specified. If grain direction can be reversed without visual effect for the project, say that too.
The cost of directional control can be real. It affects nesting, cutting and handling. The quote should confirm the requirement rather than discover it during assembly.
Decide what happens around the weld
Welding changes the local face. Grinding and blending may widen that zone, interrupt grain or soften a corner. A pristine straight coupon says little about the completed mitre.
If the welded appearance matters, review a representative joint or first frame made with the intended orientation and finishing sequence. The record names exactly which visual conditions were judged.
Avoid seamless finish for a blending request. It can be mistaken for a route change. Describe the surface that should remain visible after work is complete.
Protect the approved surface through delivery
A correct finish can still arrive scratched. Match film, interleaving, separators, end protection and crate or bundle layout to the handling risk.
Check film and adhesive against storage time and later shop work. Welded or bonded areas may need another treatment. State who removes protection and at what stage.
Packing marks should not go on cosmetic faces unless the project permits it. Mixed part orientations in a crate can also scratch adjacent pieces. A simple packing sketch can prevent that.
Separate base-tube acceptance from fabricated-part acceptance
Straight tube can pass its finish review and still produce an unacceptable assembly after cutting, welding or grinding. Decide which party owns each stage.
If the tube supplier delivers straight lengths only, the fabricator needs the same sample and finish record. If one supplier delivers finished frames, the final assembly should be inspected against the assembly acceptance plan.
Do not reject raw tube for a defect caused later, or accept a finished assembly merely because the incoming tube had been approved. Trace the condition to the responsible stage.
Write defect language people can use
No scratches is rarely a practical description. Define which marks are unacceptable on which faces, at what viewing condition, and whether a limit sample controls. Distinguish deep damage from normal process texture.
Corners, ends, holes and weld zones may have separate criteria. Record whether tiny handling marks on a hidden face matter. The aim is not to allow poor work; it is to give inspection a shared boundary.
When a defect is found, photograph its location with a scale and part identifier. Keep the image as evidence, not as a substitute for the controlled sample.
Carry the finish through the RFQ and quote
The RFQ line should connect product form, outside size, wall, standard, grade, length and the finish record. Identify visible faces, direction, approved sample, protection, fabrication scope and inspection point.
Ask the bidder to repeat those fields. A quote stating only polished has not confirmed the sample or direction. Put any proposed alternative in a separate row.
The ASTM A554 square tube guide covers the mechanical-tube basis. The 316 square tube guide ties grade, exposure and finish decisions together.
Approve with a sentence, not a signature alone
A useful approval might say that Sample F-03 controls the visible-face texture and grain direction for faces A–C, while welded-corner appearance will be approved on the first fabricated frame. That sentence has boundaries.
It does not claim the sample proves grade, dimensions or corrosion suitability. Those requirements remain in their own records.
Good visual control is not subjective chaos. It is a documented comparison with the right sample, surfaces, light, fabrication stage and protection.
Technical references
Questions buyers ask
Is “brushed finish” enough for an RFQ?
Usually not when appearance is important. Add an agreed reference or controlled sample, identify visible faces and grain direction, and state how weld zones, corners and handling marks will be accepted.
Can a straight sample approve welded corners?
Not reliably. Welding and blending change local appearance. Use a representative welded sample or first fabricated article when the finished joint is visually important.
Should all four faces have the same requirement?
Only if the project needs that. Mark visible, hidden and functional faces on the drawing. This avoids paying for unnecessary cosmetic control while protecting the surfaces people will see.
What belongs in the packing requirement?
Consider compatible protective film, interleaving, separators, marks, end protection and crate or bundle orientation. State when protection is removed and protect cosmetic faces from labels or abrasion.